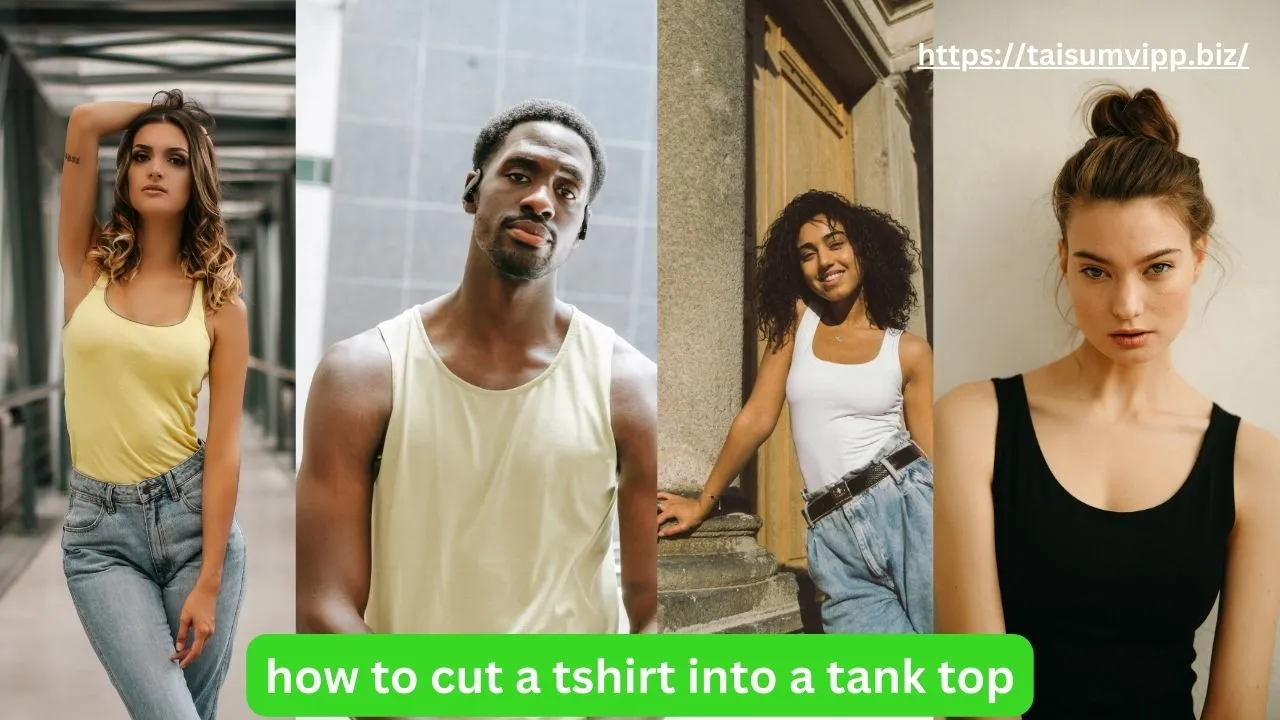
Transforming an ordinary t-shirt into a stylish tank top is a fun and interesting project that requires minimal sewing skills. With just a few tools and a good understanding of the process, you can create a trendy addition to your wardrobe. In this step-by-step guide, we’ll walk you through the basics, preparations, cutting process, finishing touches, and maintenance tips to ensure your new DIY tank top lasts.
Understanding the Basics of T-Shirt Transformation
Before diving into cutting, it’s essential to understand what makes a t-shirt suitable for conversion into a tank top. T-shirts come in various styles, fabrics, and fits, which can influence the final appearance of your tank top. The process of transformation not only allows for creativity but also provides an opportunity to breathe new life into old garments, making it an eco-friendly choice as well.
The Importance of Choosing the Right T-Shirt
The first step in your transformation journey is selecting the right t-shirt. Here are some considerations:
Fabric Quality Opt for a soft, breathable fabric like cotton or a cotton blend. These materials are comfortable to wear and drape nicely. Fabrics like jersey or modal can also provide a lovely flow and enhance the overall look of your tank top.
Fit Choose a t-shirt that fits you well or has an oversized look, depending on your desired tank top style. A fitted t-shirt can create a more tailored tank, while a looser fit can give a relaxed, bohemian vibe.
Design Consider the color and graphic design. A plain shirt allows for more customization, while patterned shirts can add personality to your tank. Remember that bold graphics can make a statement, so think about how you want your final piece to reflect your style.
Necessary Tools for T-Shirt Cutting
To transform your t-shirt, gather the following tools
Fabric Scissors A good pair of sharp fabric scissors will make clean cuts without fraying. Investing in quality scissors can save you time and ensure a professional finish.
Measuring Tape Ensure measurements are accurate for a consistent shape. This tool is crucial for achieving symmetry, especially if you plan to create multiple tank tops from different t-shirts.
Chalk or Fabric Marker Use this to mark the lines for cutting. This step is vital to avoid any mistakes that could lead to uneven edges.
Iron An iron will help eliminate wrinkles for precise cutting. Additionally, pressing the fabric can help you visualize the final shape better.
Once you’ve gathered your materials, it’s time to consider the various styles of tank tops you might want to create. For instance, a racerback tank top offers a sporty look, while a classic sleeveless design can be more versatile for layering.
You can also experiment with different necklines, such as a scoop or V-neck, which can dramatically change the aesthetic of your finished product. Don’t hesitate to explore online tutorials or DIY videos for inspiration; the possibilities are endless, and each transformation can be uniquely yours.

Preparing Your T-Shirt for Transformation
Once you’ve chosen your t-shirt and gathered your tools, it’s time to prepare for cutting. Proper preparation is crucial for achieving the best results in your new tank top.
Cleaning and Ironing Your T-Shirt
Start by washing your t-shirt to remove any dirt and dust. After washing, make sure to dry it completely. Once dry, iron your t-shirt. This step is vital for ensuring a smooth surface.
Wrinkled fabric can lead to uneven cuts, so taking the extra time to iron your t-shirt will save you effort in the long run, creating a professional-looking final product. Additionally, if your t-shirt has any embellishments, such as prints or graphics, be cautious while ironing.
It’s advisable to place a thin cloth over these areas to prevent any damage from the heat. This way, you can maintain the integrity of your design while ensuring the rest of the fabric is crisp and ready for cutting.
Marking the Cut Lines
With your t-shirt clean and pressed, it’s time to mark where you’ll be cutting. Lay the t-shirt flat on a clean surface. Use your measuring tape to determine the shape and sizes you want.
Mark the areas for cutting using chalk or a fabric marker. Common cut lines include:
The desired width of the neckline
The height of the armholes
The length of the tank top
When marking your cut lines, consider the style you want to achieve. For a more relaxed look, you might opt for a wider neckline or a longer length. Conversely, if you’re aiming for a fitted silhouette, make sure your measurements reflect that.
It can also be helpful to create a paper template for your cut lines, especially if you plan to make multiple tank tops from different t-shirts. This way, you can ensure consistency in your designs and save time in the future.
Step-by-Step Guide to Cutting Your T-Shirt
Now that your t-shirt is prepared, it’s time to cut! Follow these steps carefully to achieve the best results.
Cutting the Sleeves
Begin with the sleeves. Using your marked lines, start cutting along the seams of the sleeves or where you’ve marked. For a traditional tank top look, consider cutting just above the sleeve seam for a wider armhole.
Make sure to cut evenly on both sides to maintain symmetry. If you’d like a more fitted look, you can also curve the edges slightly as you cut. This not only enhances the aesthetic but also allows for a more comfortable fit around the arms, making it easier to move without restriction.
Experimenting with different sleeve styles can also add a unique flair to your creation; for instance, cutting a slight dip at the shoulder can give a relaxed, bohemian vibe.
Cutting the Neckline
Next, focus on the neckline. Decide how deep and wide you want your tank top’s neckline. Mark this area clearly, and then carefully cut along the line you marked.
For a classic scoop neck, cut in a gentle curve, while a more angular cut can give a stylish edge. Just remember, you can always make the neck bigger if you prefer, but it’s harder to adjust if you cut too much off! Additionally,
you might want to consider adding some finishing touches, such as a rolled hem or a decorative stitch along the neckline, to prevent fraying and to give your tank top a polished look. This small detail can elevate your DIY project from basic to chic.
Shaping the Bottom
Lastly, you’ll want to shape the bottom of the tank top. You can keep it straight for a basic tank top shape or create a curved hemline. Use your measuring tape to guide your cuts, ensuring you cut evenly across the bottom hem.
If desired, you might also consider cutting a slight curve at the sides for a more stylish and flattering silhouette. This technique can help to accentuate your waist and create a more tailored appearance. Furthermore, think about the possibility of adding side slits for a trendy touch; they not only enhance airflow but also provide a modern twist that can make your tank top stand out. Experimenting with different lengths and styles can lead to a truly personalized piece that reflects your unique fashion sense.
Finishing Touches for Your New Tank Top
Once you have cut your t-shirt into a tank top, it’s time to finish it off properly. This ensures a polished look and maintains the integrity of the fabric.
Cleaning Up the Edges
After cutting, you may notice some frayed edges. To minimize this, you can either sew along the edges if you know how, or simply leave them raw for a casual look.
If you decide to leave the edges raw, washing the tank top may naturally enhance the frayed look, giving it a trendy, distressed appearance. Iron the edges again if needed.
Optional Modifications for a Personal Touch
To make your tank top uniquely yours, consider adding embellishments. Here are some ideas:
Applying Patches Sew or iron on patches that reflect your style.
Adding Lace or Ribbon For a feminine touch, stitching lace trim or ribbon along the edges can add flair.
Tie-Dye or Fabric Paint Use dye or paint to add color and create unique designs.
Tips for Maintaining Your DIY Tank Top
After completing your DIY tank top, it’s essential to know how to care for it to keep it looking fabulous.
Washing and Drying Tips
When washing your new tank top, it’s best to do so gently. Use cold water and mild detergent to avoid any fabric shrinkage. With delicate items, consider hand washing or using the gentle cycle on your washing machine.
To dry, avoid the tumble dryer if possible. Air drying is the best option, as it prevents further wear on the fabric. Hang your tank top on a clothesline or rack and keep it out of direct sunlight to avoid fading.
Repairing and Upkeeping Your Tank Top
Over time, your tank top may require some upkeep. If any seams become loose or if you notice fraying becoming excessive, consider either repairing it with some simple stitches or re-cutting it for a refreshed look.
Regularly check for any wear and address it promptly to ensure your tank top remains a staple in your wardrobe.
Following these steps not only allows you to create a functional piece of clothing but also offers a unique opportunity for self-expression through your fashion choices. Enjoy wearing your new tank top!